
Display Painting Essentials: Plinths
A lot of the students in my classes these days are people interested in leveling up their painting for display or competition instead of tabletop playing standard. Most of my display pieces are glued to plinths of various design, however, the majority are on wooden blocks. That brings up the question of how do you make or where do you buy your plinths.
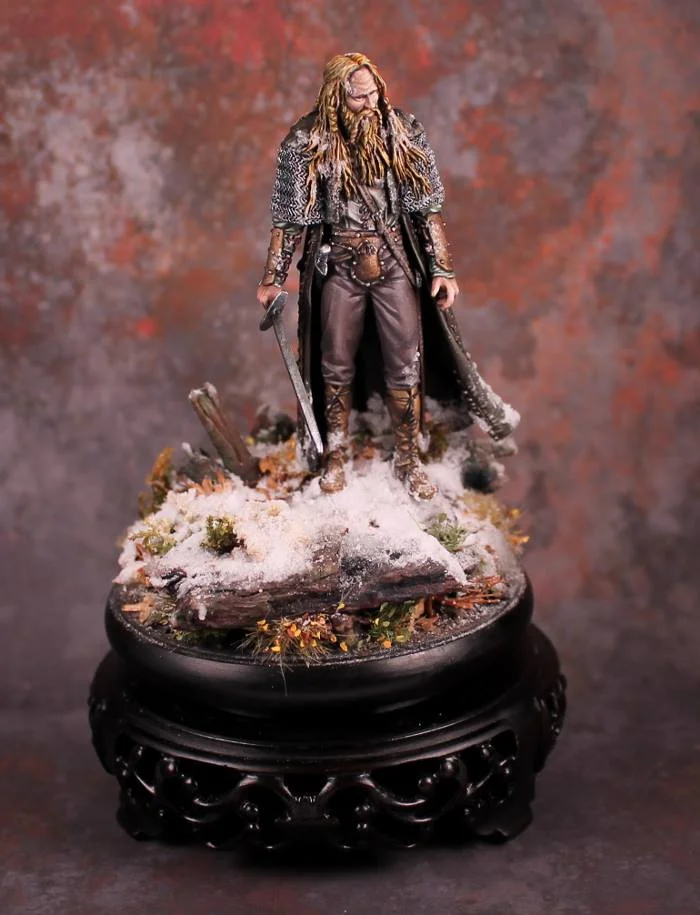
First, let's discuss what is a plinth. It's usually a wooden or resin device to affix your miniature or diorama to for easy handling to view the work. They come in many different shapes, sizes and finishes. Here is a picture of a few items my husband and I have in our studio stash. You can see there is a trophy plinth, one made for busts, a pedestal design, a lower round that is actually an asian votive vase or buddha statue pedestal, and a block of wood
For Europeans and Americans it seems to be much easier to come by plinths. Most of the people I know in the US know someone who makes plinths. Even some of my friends are starting to make their own to sell. I am going to give two peeps a shout out here that you guys should check out. On the Historical Scene we have Scott Durling in California and on the Fantasy/Sci-Fi scene we have Caleb Wissenback with his Twisted Wood. These guys are producing excellent quality plinths. Caleb seems to be open to custom sizes, woods and finishes.
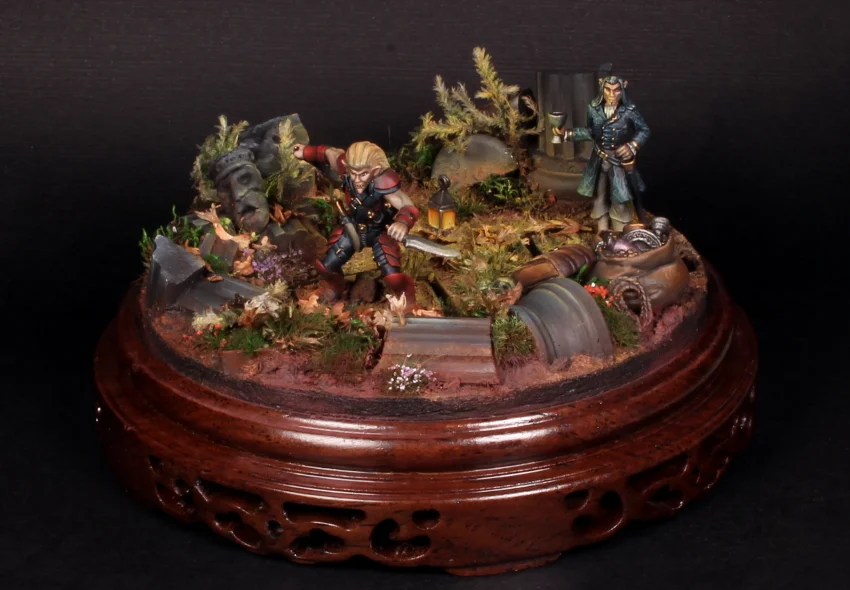
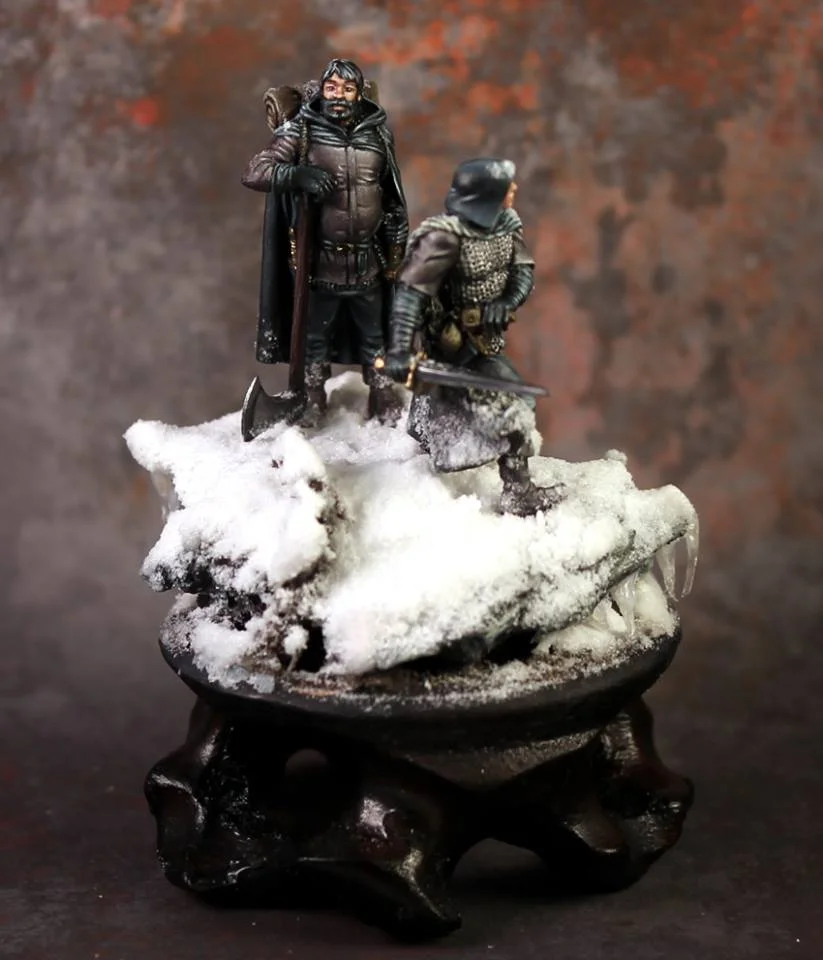
Another source for plinths is ordering Asian votive vase or buddha statue pedestals from Amazon. I have used several in my miniatures and you can find some very basic ones to very elaborate and expensive ones in all different sizes. Here are some examples:
But for some of us, like those living in Australia, it can be really hard to come by plinths. Or possibly too expensive if you are on a budget. Another option then, is using wooden blocks. In the US, I was able to get them easily at Hobby Lobby, Michael's, Joann's or any other craft store that also sells wood cuts. If you buy them from the craft store they tend to have a half way decent finish but I would still recommend following the rest of this blog to find out how to get a super professional finish.
Down Under, we live in a small town and the nearest craft store is over an hour a way. Not easily accessible and I have yet to find woodcuts in Aussie craft stores as I have in American craft stores.
So, we make our own. When we had to make blocks for a basing class we went to the hardware store and got a post that measured about 40mm x 40mm (around and at least 6 ft long) and cut it into blocks. That leaves a rough cut edge though. Something that wouldn't be suitable to leave for a competition mini.
That means you need to find a quick and cost effective way to get a polished finish to the plinth. We've experimented with a few things but ultimately found using plasticard was the best. So, here is a step by step on how to cut, glue and sand the plasticard to get a nice finished plinth.
Tools you will need:
Wooden Block
Thin Plasticard
Super Glue
Accelerator (optional)
Ruler
Scalpel (a fresh blade for optimum cutting power!!!!)
Sharpie, pen or pencil
180 grit sandpaper
120 grit sand paper
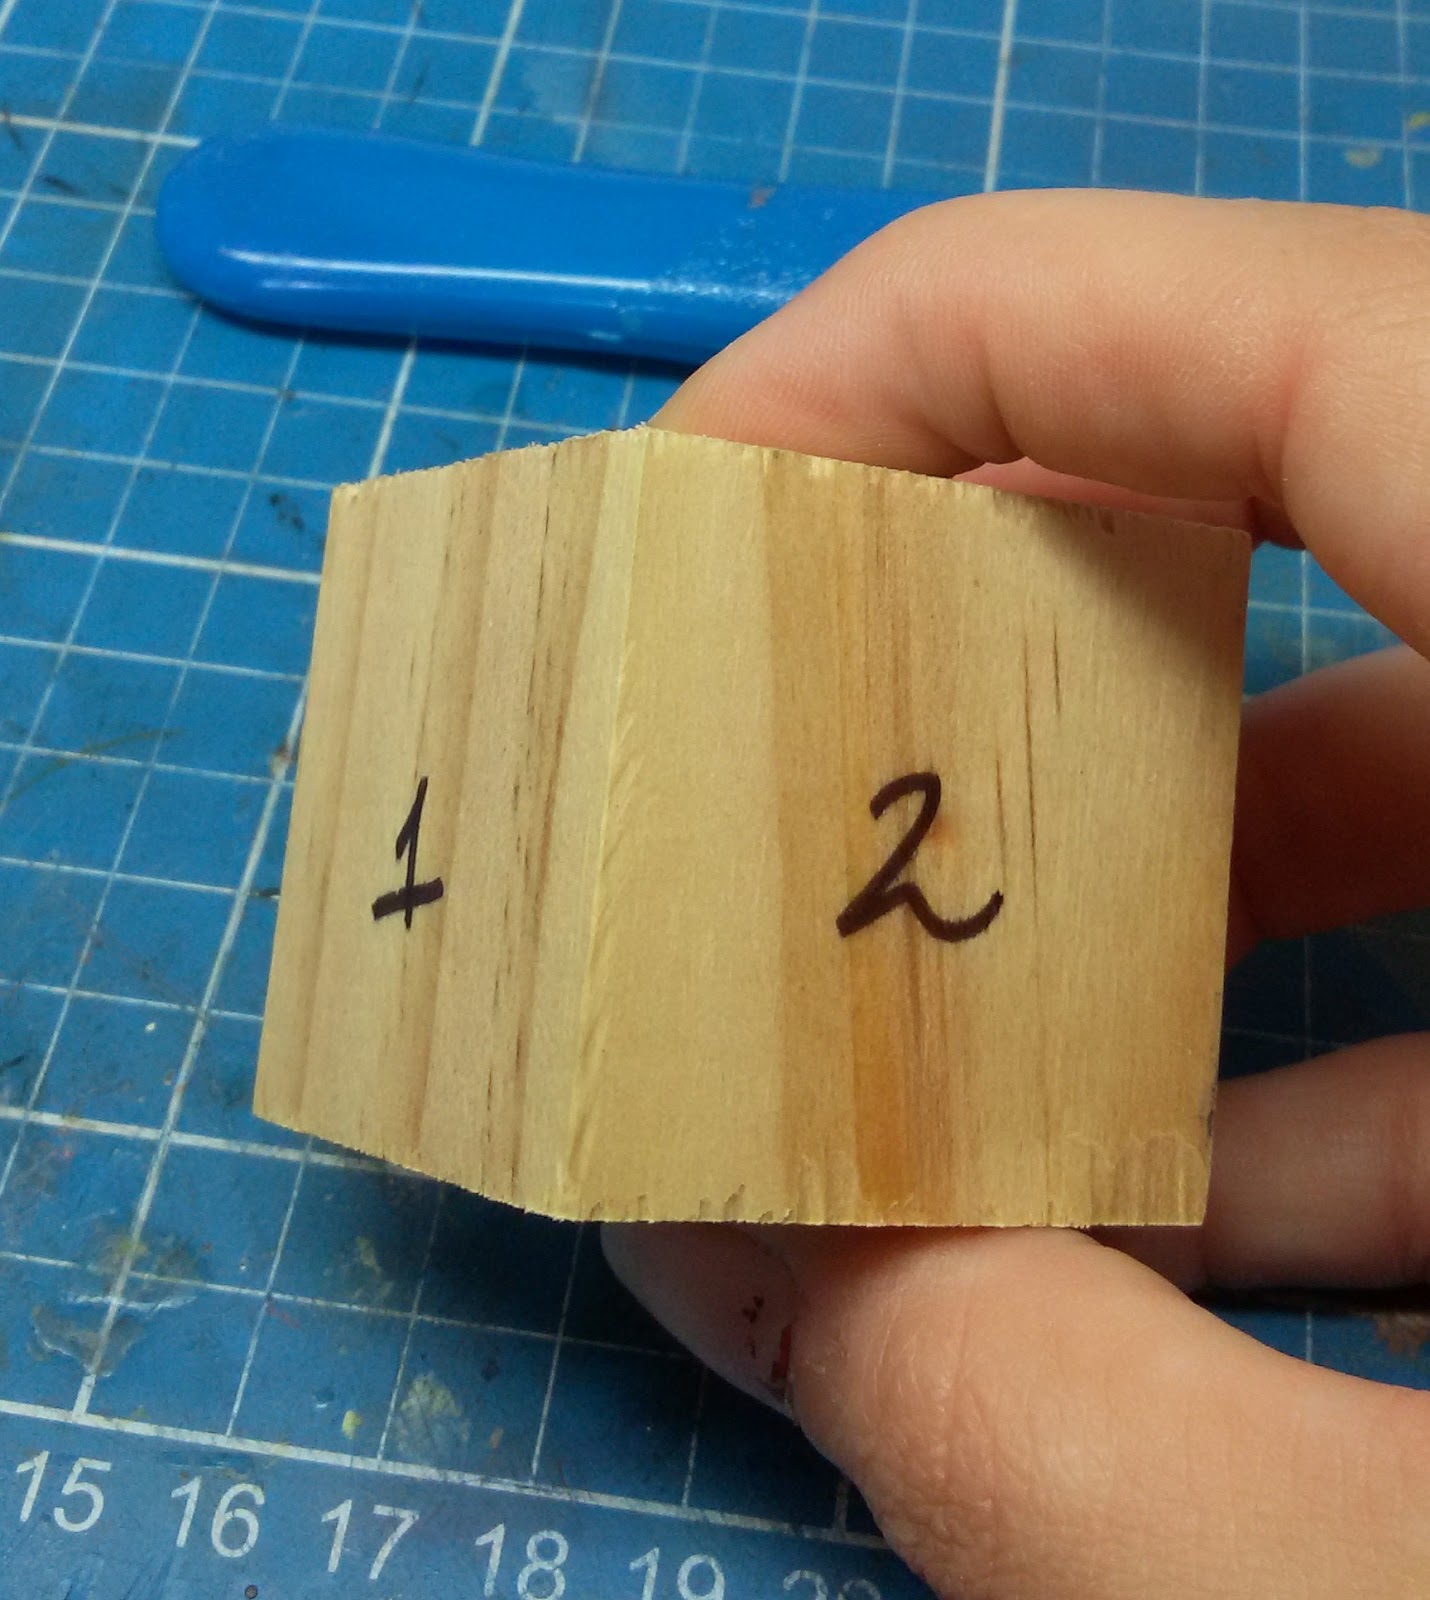
Below is a photo of the block, ruler, plasticard, writing implement and my cutting mat.

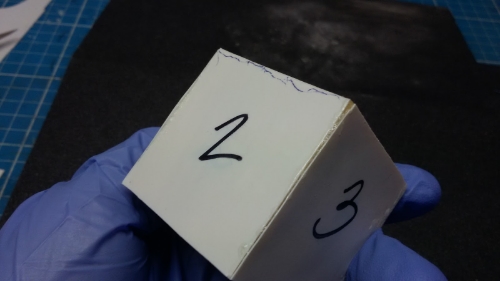
As you can see, cutting the block with a saw has left it rather rough. We need to cover up these rough areas to get it ready for a display or competition piece. Number the sides of your block before you start cutting the plasticard. This way you can keep track of which side the plasticard has been cut for and you get the best fit possible.
You want to leave a bit of overhang on the plasticard. When I glue on the piece number 1 the overhang there will be the edge that meets with piece number two for a flush corner.


As you can see, there is a lot of overhang. This is okay. We will get rid of this.
With all of the pieces glued on, I have some really messy edges. Glue has gotten on the plasticard, the block wasn't a perfect square so there were some gaps in the corners between plasticard and wood that I filled with super glue. In other words, it should look like a hot mess right now. We'll fix it. :)
And we can also see all of the overhang on the plasticard. Trim this with your scalpel. Voila! looks better already!
***Before we sand, we must don our safety gear. Gloves and respirator are always on when sanding! Especially, if we are sanding toxic substances. ***
Sanding will help you make these rough corners look much smoother. Since I did have a gap in the plasticard, I sealed it with super glue and dried it with the accelerator. Take your rougher grit sandpaper (120) and sand on a level surface. Sand all six faces of the block to make sure the edges of the plasticard are flush with the top and bottom of the block as well as making sure corners are event and smooth.
It should look like this: roughly sanded, still needs a bit of a clean up so we move to the finer grit sand paper.
Sand it gently, not a ton of pressure, and get a smoother finish with the 180 grit. Shouldn't take too long, just a minute of sanding the block. And now it's ready for your miniature scene to be built and primed!
I used this trick on the base for my Despicable Me inspired Maelee and Minion Bot.
Hope some of you find this helpful!
